A good landscape design can still lose a client if the presentation is unclear. Many homeowners do not understand grading, plant spacing, material choices, drainage plans, or phased installation the same way a professional does. They need to see the idea, understand the value, and feel confident that the project will work in real life.
For landscape designers and contractors, a client presentation is not only about showing a beautiful design. It is about building trust, answering concerns, explaining decisions, and helping the client picture the final outdoor space before work begins. The better your presentation, the easier it becomes for the client to say yes with confidence. Here are eight client presentation tips that can help landscape designers and contractors communicate better, reduce confusion, and close more projects.
1. Start with the client’s main problem, not the design
Many professionals begin a presentation by showing the finished design first. That can look impressive, but it may not always connect with the client right away. Before showing the full design, remind the client what problem you are solving. For example, the client may want:
- Better curb appeal
- A safer walkway
- More usable backyard space
- Privacy from neighbors
- A low-maintenance garden
- A better patio layout
- Improved drainage
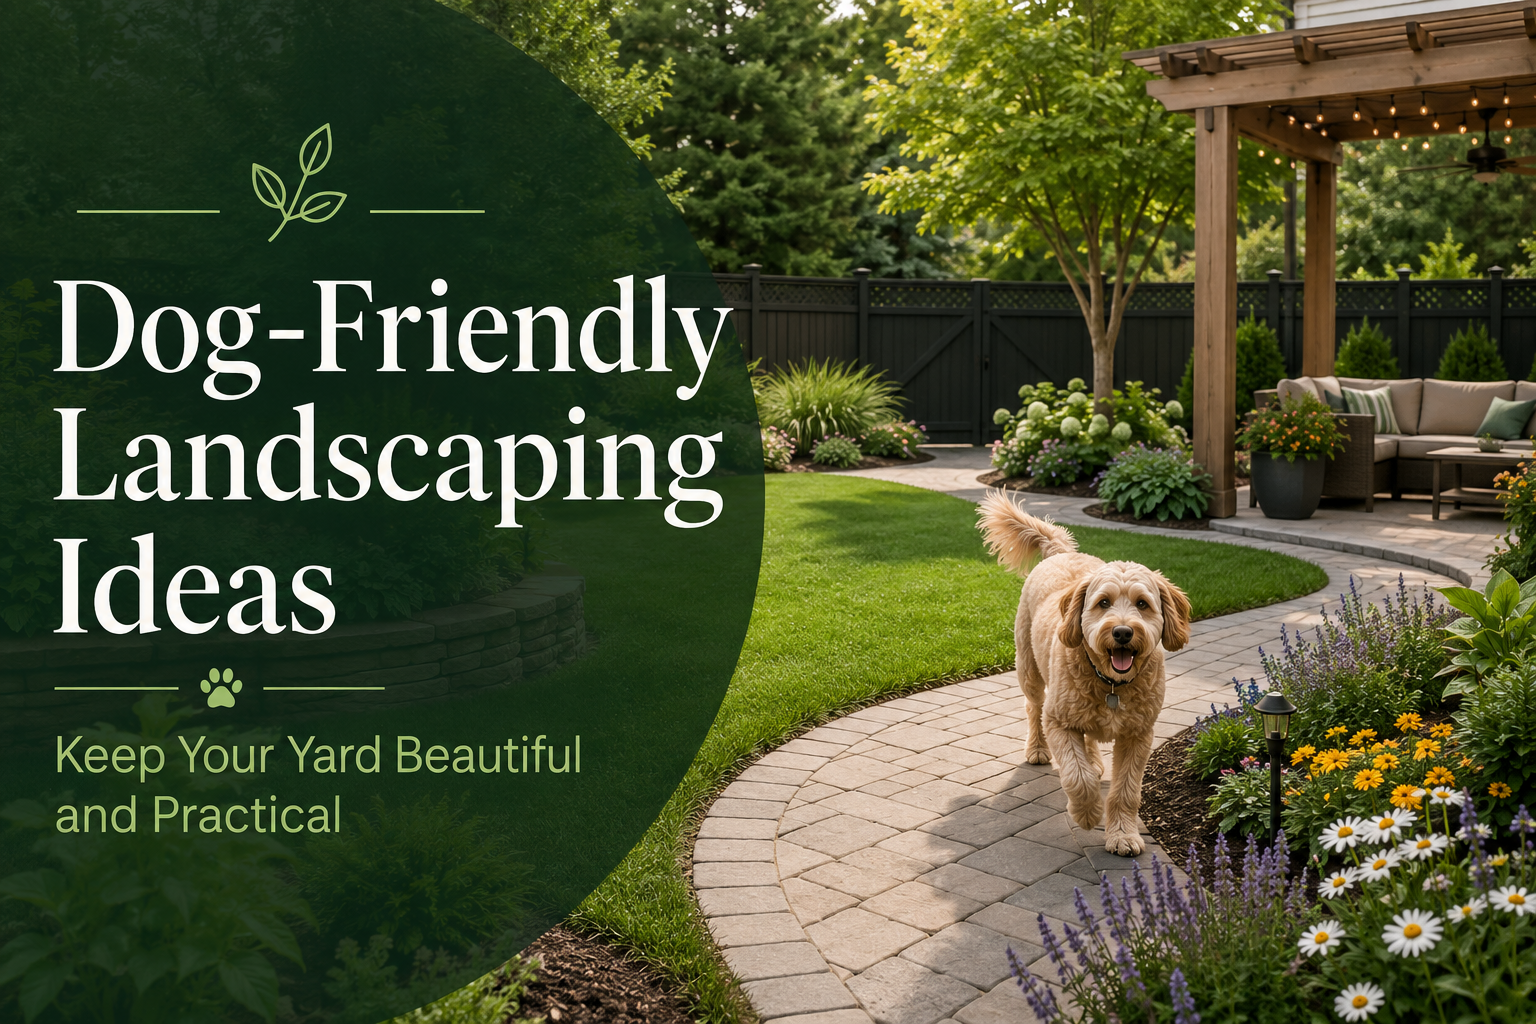
- A kid-friendly or pet-friendly yard
- Outdoor entertaining space
When you start with the client’s concern, the presentation feels more personal. It shows that your design is not random. It is built around their real needs. Instead of saying, “Here is the landscape design,” you can say:
“Based on what you shared, the main goal was to make the backyard more usable for family gatherings while keeping maintenance low. This design focuses on better flow, durable materials, and planting areas that add softness without creating too much upkeep.”
That type of opening helps the client understand the purpose behind the design before looking at the details.
2. Use visuals that make the design easy to understand
Most clients cannot fully understand a landscape plan from a flat drawing alone. A 2D layout may make sense to a designer or contractor, but a homeowner may struggle to imagine height, depth, color, texture, and spacing. This is why strong visuals matter. Use images, renderings, design mockups, before-and-after views, plant photos, material samples, and visual design tools whenever possible. A good visual presentation can help the client understand:
- Where each feature will go
- How the design will look from different angles
- How plants and hardscape work together
- How much space will remain open
- How the design improves the existing yard
- How the project may look after installation
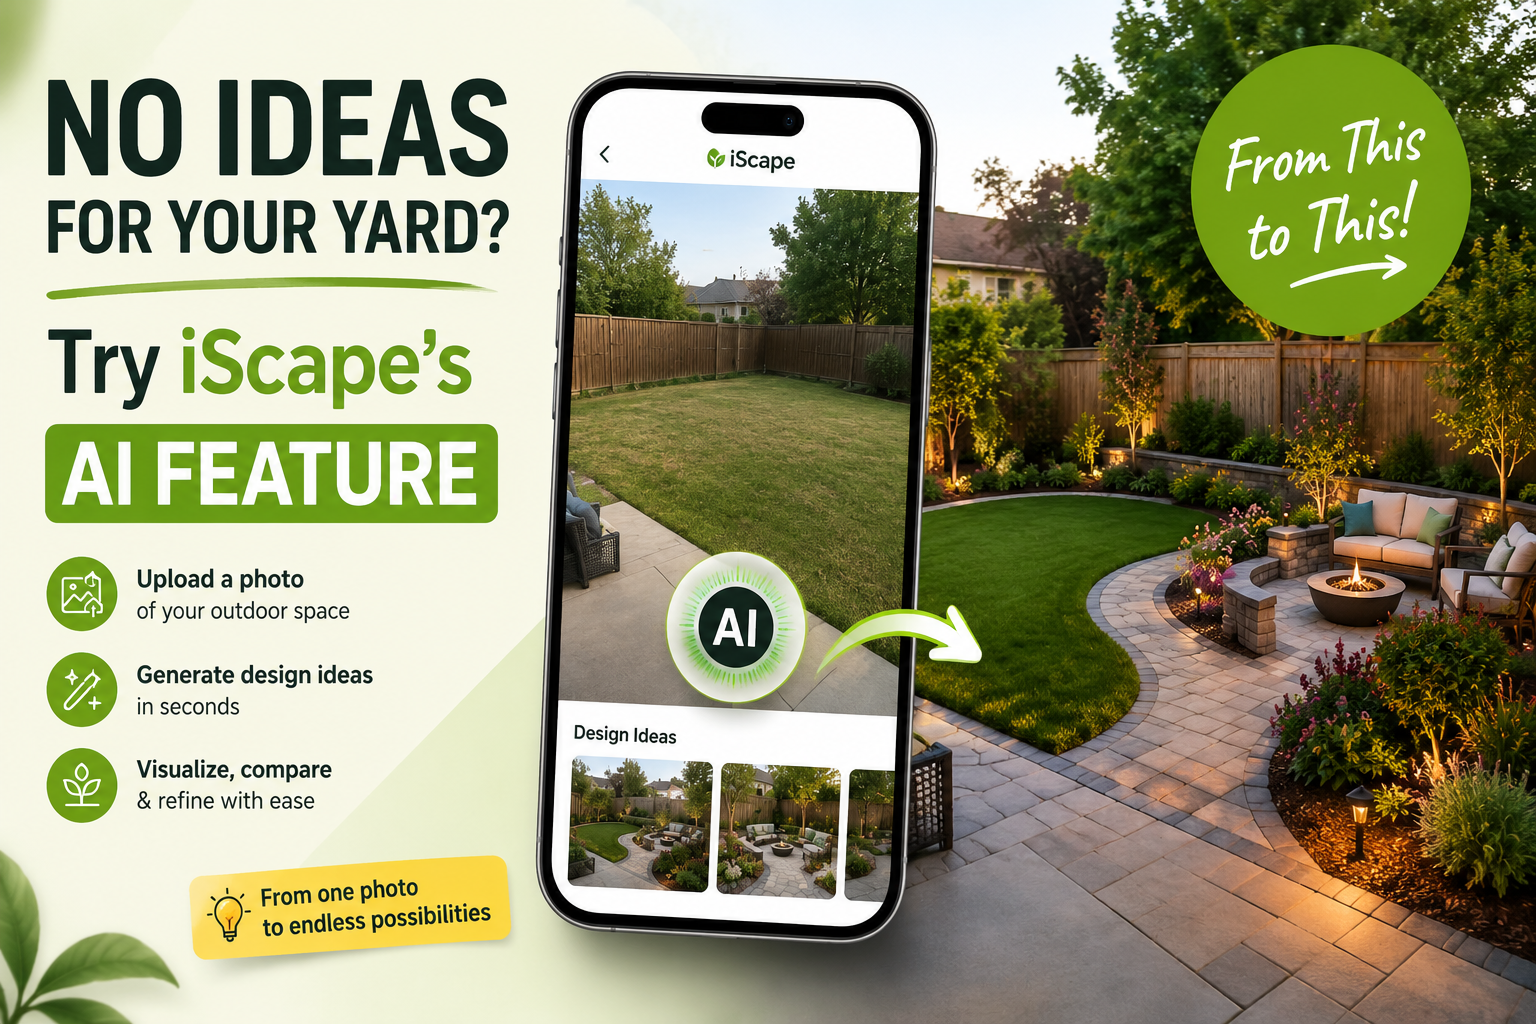
A landscape design app like iScape can be useful here because it helps clients see the design in a more realistic way. Instead of asking them to imagine the transformation, you can show them how the new patio, plants, edging, walkway, lawn area, or outdoor feature may look in their actual space. For many clients, seeing the idea visually removes doubt. It also helps prevent misunderstandings before the project starts.
3. Explain the “why” behind each design choice
Clients often judge a design by appearance first. They may ask why a plant is placed in one area, why a walkway curves, why a retaining wall is needed, or why one material costs more than another. A strong presentation explains the reason behind each major decision. For example:
- A tree may be placed to create shade and privacy.
- A curved path may improve movement through the space.
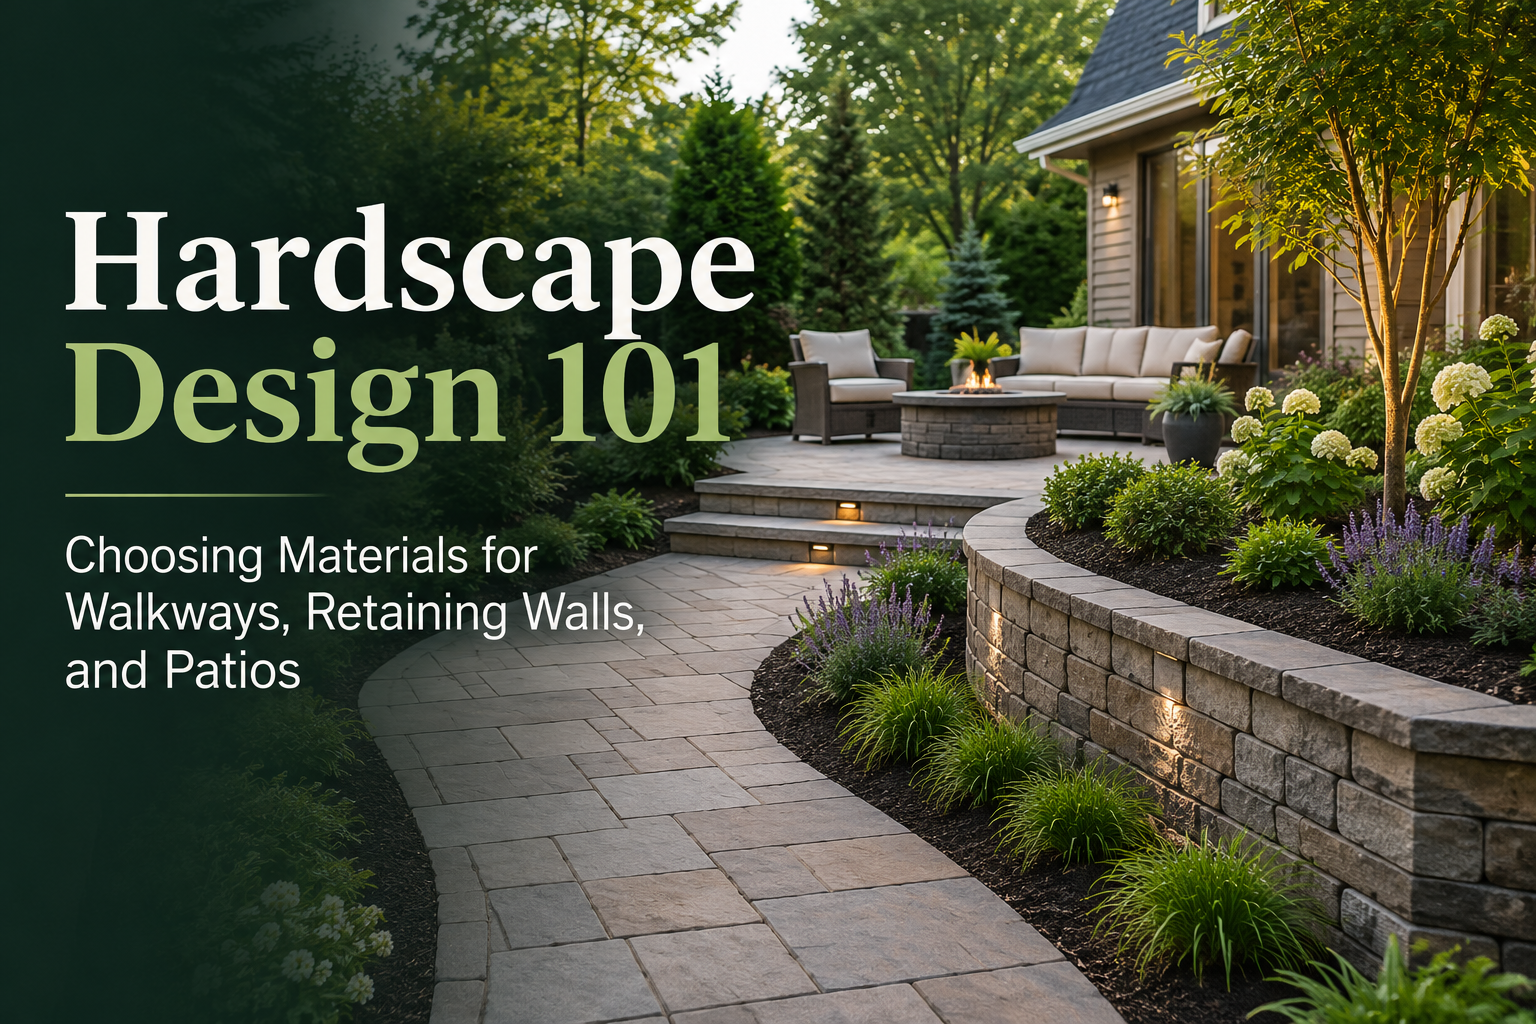
- A retaining wall may solve a slope problem.
- Native plants may reduce long-term maintenance.
- Gravel may improve drainage in a problem area.
- Larger plants may create instant impact near the entrance.
- Low-voltage lighting may improve safety and evening use.
When you explain the purpose behind the choices, the design feels more valuable. The client begins to see the project as a practical solution, not just a visual upgrade. Avoid using too much technical language. Keep explanations simple and connected to benefits. Instead of saying, “We are using permeable material to reduce runoff,” you can say:
“This material allows water to move through more easily, which can help reduce puddling in this part of the yard.” That kind of explanation is clear and client-friendly.
4. Keep the presentation organized and easy to follow
A client presentation should have a clear flow. If the presentation jumps from plant choices to pricing to drainage to lighting without structure, the client may feel overwhelmed. A simple structure works best. You can organize the presentation like this:
First, review the client’s goals. Then show the existing yard issues. After that, present the main design concept. Next, walk through key areas of the project, such as the front yard, backyard, patio, planting beds, lighting, irrigation, or hardscape. Then explain materials and maintenance. Finally, discuss timeline, budget, and next steps. This type of order keeps the client focused. It also makes the meeting feel professional. Do not show too many options at once. Too many choices can slow down decision-making. If you want to offer options, keep them limited and explain the difference clearly. For example:
“Option one keeps the project closer to the original budget. Option two adds more privacy screening and a larger patio area. Option three is the premium version with lighting, upgraded pavers, and additional planting depth.” This makes the options easier to compare.
5. Talk about budget with clarity and confidence
Budget is often the most sensitive part of a landscape presentation. Some clients may love the design but hesitate when they see the cost. Others may not understand why professional landscaping costs more than expected. The goal is not to avoid the budget conversation. The goal is to explain it clearly.
Break down what is included in the project. Help the client understand where the investment goes. This may include design work, materials, labor, soil preparation, grading, drainage, plant sourcing, equipment, disposal, hardscape installation, irrigation, lighting, and project management. When possible, connect cost to durability, function, and long-term value.
For example: “The upgraded paver option costs more upfront, but it gives a cleaner finish and better durability for a high-use patio area.”
Or:
“This drainage work is not the most visible part of the project, but it protects the rest of the installation from water problems later.” If the client has budget limits, offer phased options instead of reducing the quality of the whole design. A phased plan lets the client complete the most important work first and add other elements later. For example:
- Phase one: grading, drainage, patio base, and main hardscape
- Phase two: planting beds, shrubs, and mulch
- Phase three: lighting, decorative features, and final upgrades
This keeps the project realistic while protecting the overall design vision.
6. Prepare for common client questions before the meeting
Clients often ask similar questions during landscape presentations. If you prepare answers in advance, you will sound more confident and professional. Common client questions include:
- How long will the project take?
- What happens if the weather delays the work?
- Will the plants survive in this area?
- How much maintenance will this require?
- Can we reduce the cost?
- What materials do you recommend and why?
- Do we need permits or HOA approval?
- Can the project be done in phases?
- How soon will the plants fill in?
- What warranty or follow-up support is included?
Strong answers help build trust. Weak or unclear answers may create doubt. It also helps to be honest about trade-offs. For example, if a client wants a very low-maintenance yard but also wants lots of seasonal flowers, explain that flowers may require more upkeep than evergreen shrubs or native plants. Clients appreciate practical guidance. They do not expect every answer to be what they want to hear, but they do expect clear advice.
7. Show maintenance expectations clearly
A landscape can look beautiful in a presentation, but clients also need to know what it will take to keep it looking good. If maintenance expectations are unclear, the client may become unhappy later. Explain what the yard will need after installation. This may include:
- Watering schedule for new plants
- Mulch refresh needs
- Seasonal pruning
- Lawn care
- Weed control
- Fertilization
- Irrigation checks
- Lighting maintenance
- Plant replacement expectations
- Long-term growth and spacing
This is especially important for clients who ask for a low-maintenance landscape. Low maintenance does not mean no maintenance. It means the design is planned to reduce extra work. You can say:
“This planting plan is designed to stay manageable, but the first few weeks are important. New plants will need consistent watering until the roots establish. After that, the maintenance level should drop.”
This sets realistic expectations and helps prevent future complaints.
8. End with clear next steps
A presentation should not end with confusion. Once you finish explaining the design, guide the client toward the next action.
Be clear about what happens next.
For example:
- Approve the design
- Choose a material option
- Confirm the project scope
- Review the final estimate
- Sign the agreement
- Schedule the installation
- Submit HOA or permit documents
- Pay the deposit
- Plan the first phase
Avoid leaving the client with a vague ending like “Let us know what you think.” That sounds passive and may delay the decision.
A stronger closing could be: “The next step is to choose between the standard patio option and the upgraded paver option. Once that is confirmed, we can finalize the estimate and move toward scheduling.”
This keeps the process moving. Also give the client a simple summary after the meeting. It can include the selected design, key materials, estimated timeline, budget range, and pending decisions. This helps them review the project without trying to remember every detail from the presentation.
Extra tips to make your client presentation stronger
A good presentation is also about how you communicate. Speak clearly, avoid rushing, and give the client time to ask questions. Do not overload them with too many technical details at once. Use before-and-after visuals when possible. Clients love seeing transformation. If you have similar completed projects, show them as proof of your work. Real project photos can build confidence faster than verbal explanation alone. Also tailor the presentation to the client. A homeowner may care more about appearance, comfort, maintenance, and budget. A commercial client may care more about durability, safety, traffic flow, brand image, and long-term upkeep. The more relevant your presentation feels, the stronger it becomes.
Why client presentations matter in landscape design
A landscape project is a big decision for most clients. They are investing money into a space they will live with for years. They may feel excited, but they may also feel unsure. A strong presentation reduces that uncertainty. It helps the client understand the plan, see the value, and trust your process. For designers and contractors, better presentations can also lead to:
- Faster approvals
- Fewer design revisions
- Better client communication
- Stronger project confidence
- Fewer misunderstandings
- Higher close rates
- Smoother installations
- Better client satisfaction
The presentation is not just a sales step. It is part of the project experience.
Final thoughts
Client presentations are one of the most important parts of a landscape design or contracting business. A strong design needs clear communication behind it. When clients understand the plan, the reason behind each choice, the expected cost, and the next steps, they feel more confident moving forward. Start with the client’s goals. Use visuals to make the design clear. Explain why each choice matters. Keep the presentation organized. Discuss budget with confidence. Prepare for questions. Set maintenance expectations. End with clear next steps. If you want to make your design presentations more visual and client-friendly, iScape can help you show ideas before the work begins. With visual planning tools, you can present outdoor spaces in a way clients can understand, compare, and approve with more confidence.