Why do professionally landscaped yards look full and interesting without feeling crowded?
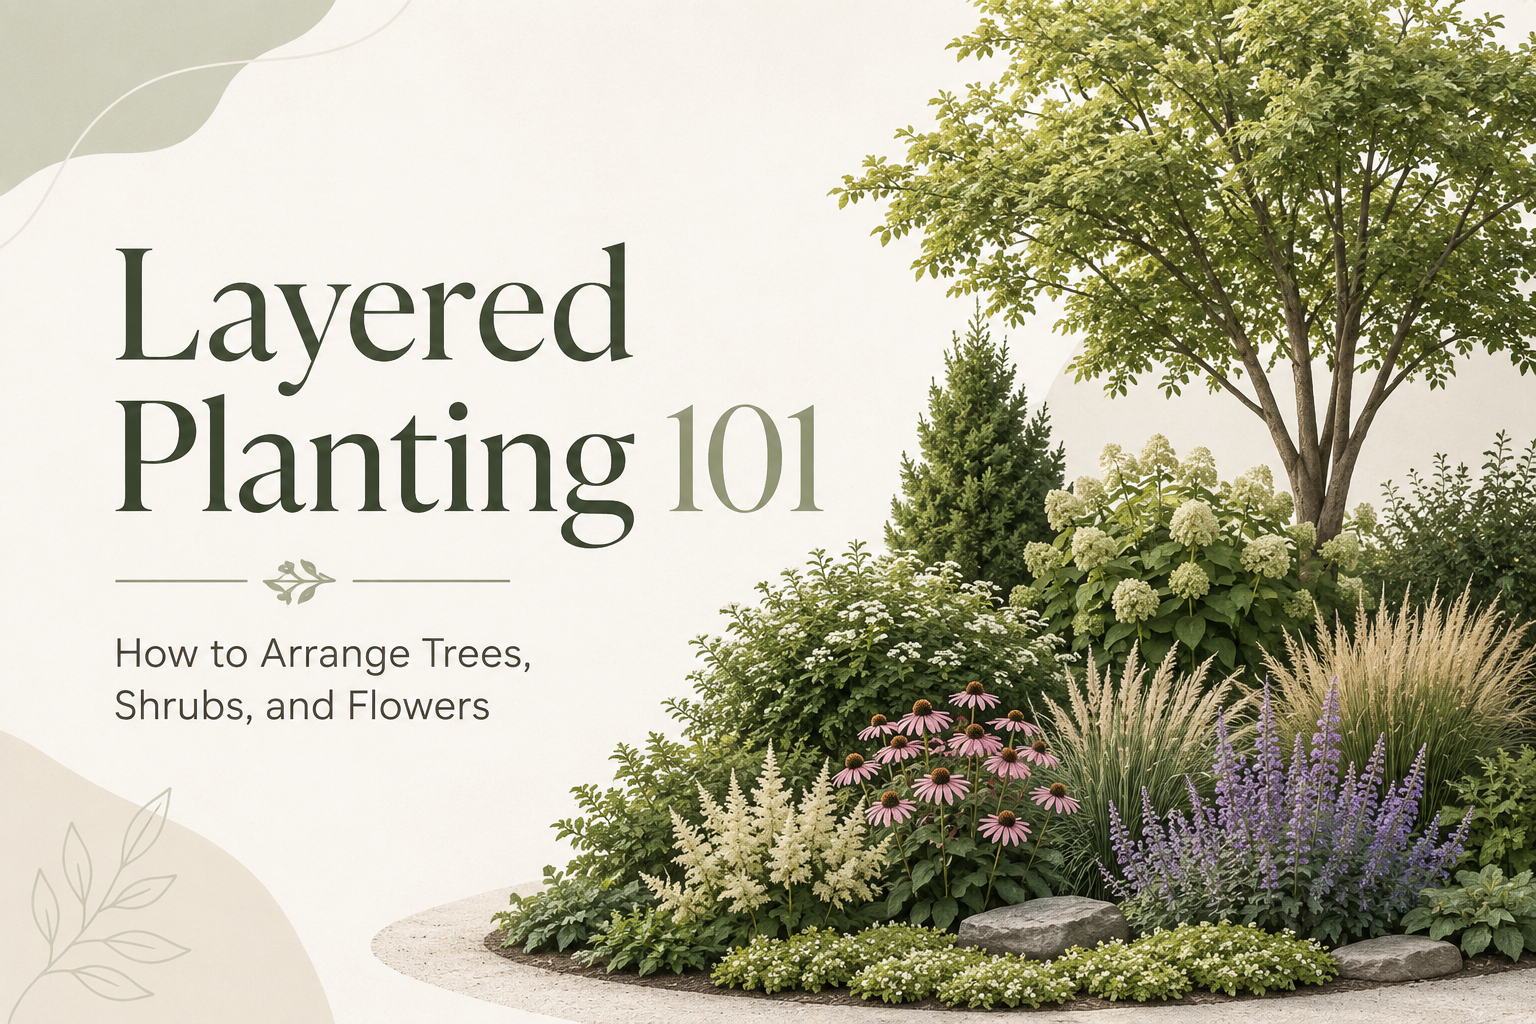
One of the biggest reasons is layered planting. Instead of treating trees, shrubs, flowers, and groundcovers as separate elements, layered planting arranges them so different plant heights, textures, colors, and forms work together. Trees create the upper structure. Shrubs fill the middle. Flowers and ornamental grasses introduce color and movement. Low-growing plants soften the edges and connect everything together. The result is a landscape that feels deeper, more established, and intentionally designed.
What Does Layered Planting Actually Mean?
Layered planting is inspired by how vegetation naturally grows along forests, woodland edges, and meadows. Rather than having every plant at roughly the same height, the landscape gradually moves from tall plants to shorter ones. A complete planting scheme may include:
- The upper layer: Large shade or evergreen trees that provide structure, scale, privacy, and shade.
- The secondary tree layer: Smaller flowering or ornamental trees that create a transition between large trees and shrubs.
- The shrub layer: Evergreen and flowering shrubs that provide fullness, screening, and year-round structure.
- The perennial layer: Flowers and ornamental grasses that introduce seasonal color, texture, and movement.
- The ground layer: Low-growing plants and groundcovers that soften pathways, cover exposed soil, and complete planting-bed edges.
Not every yard needs all five layers. A smaller front yard might use one ornamental tree, several compact shrubs, flowering perennials, and low groundcovers. A large backyard may have enough room for a full canopy-to-ground planting system. The goal is not to fit in every possible layer. It is to create a smooth visual transition between plant heights.
Step 1: Understand the Space Before Choosing Plants
Do not begin layered planting by buying plants you like and trying to find somewhere to put them. Start by understanding the yard. Look at:
- Sunlight throughout the day
- Existing trees and structures
- Soil and drainage
- Areas where privacy is needed
- Views you want to keep open
- Paths and entrances
- Irrigation availability
- Planting-bed depth
- Available maintenance time
A plant can be beautiful and still be completely wrong for your yard.
Step 2: Start With Trees
Trees are usually the largest and longest-lasting part of a landscape, so their placement should come first. They can be used to:
- Frame the house
- Shade patios
- Create privacy
- Screen neighboring properties
- Anchor large planting areas
- Frame important views
- Add vertical scale
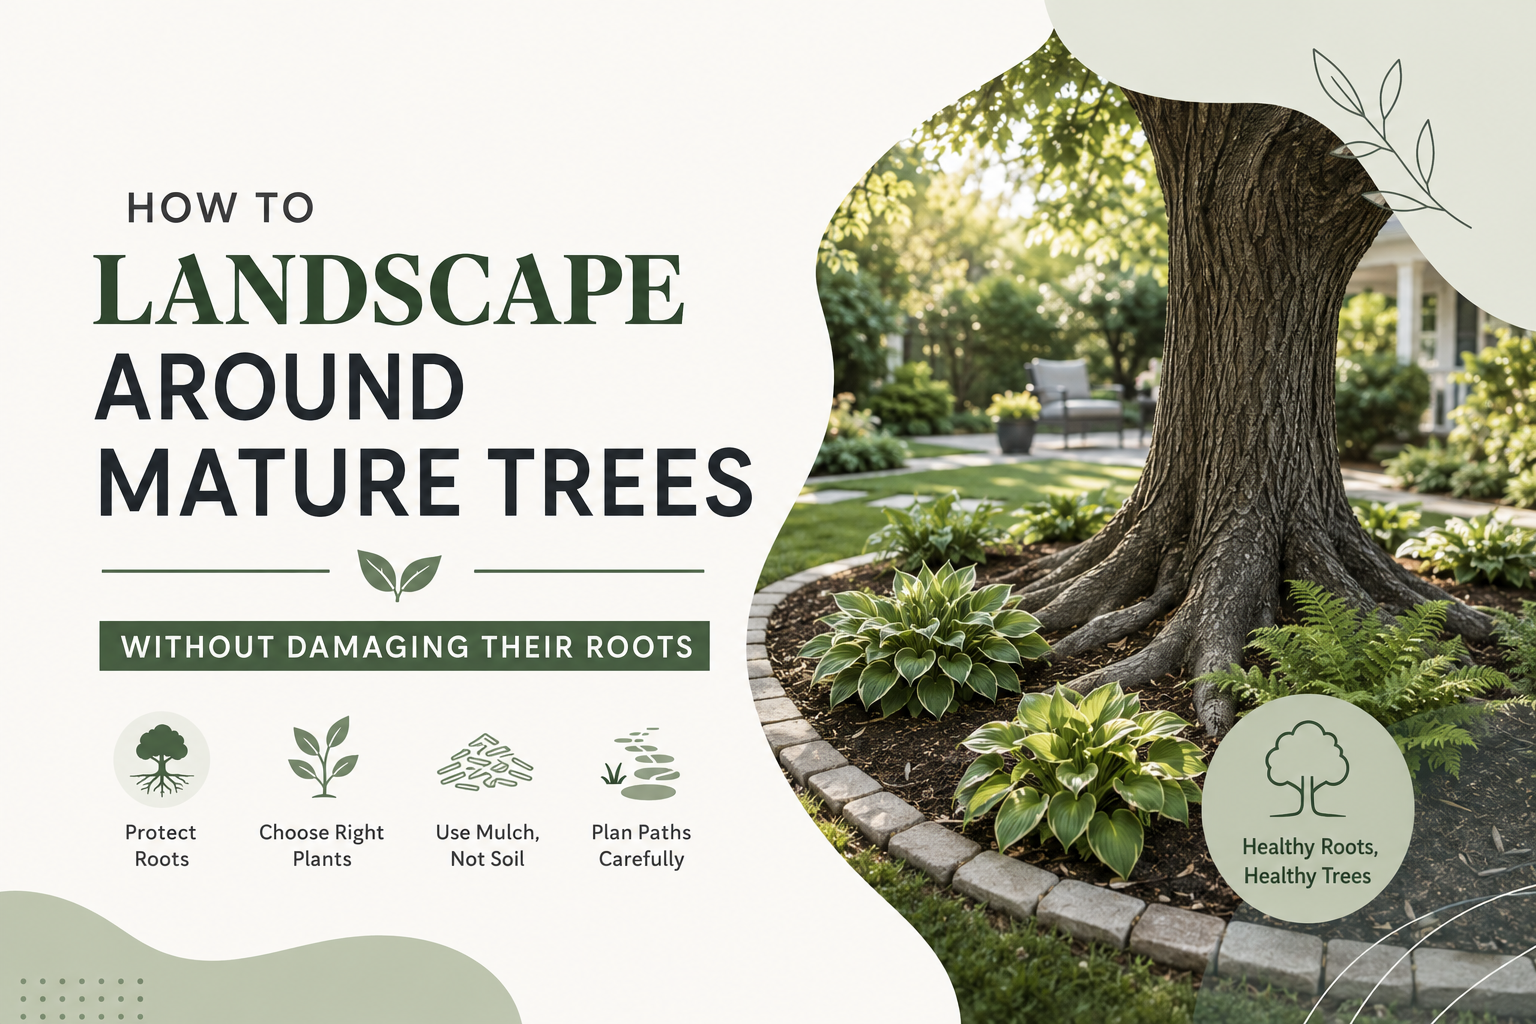
Always consider the tree's mature height and canopy width. A six-foot nursery tree may eventually become 30 or 40 feet tall. Designing around its current size can result in blocked windows, crowded structures, excessive shade, or expensive pruning later. Think of trees as the framework of the landscape. The remaining layers should support them.
Step 3: Add Smaller Trees and Tall Shrubs
Jumping directly from a 30-foot tree to one-foot flowers can make a planting bed feel visually disconnected. Smaller ornamental trees and tall shrubs create an important transition. For example:
Large tree → small flowering tree → shrub → perennial → groundcover
That gradual movement creates depth. Smaller trees can also become focal points around:
- Entryways
- Patio corners
- Large planting beds
- Property boundaries
- Courtyards
You do not necessarily need a small tree everywhere. Use this layer where the landscape needs additional height without another major canopy tree.
Step 4: Build the Middle With Shrubs
Shrubs are often what makes layered landscaping feel complete. They connect tall trees with lower flowers while providing structure when many perennials are dormant. Use shrubs to:
- Hide foundations
- Create privacy
- Screen fences
- Define outdoor rooms
- Frame pathways
- Separate lawn from planting areas
- Add evergreen structure
When a garden bed is mainly viewed from the front, place taller shrubs farther back and gradually bring shorter plants forward. Avoid buying one shrub from every variety that catches your attention. Groups of the same plant generally create stronger visual impact. Three matching shrubs usually look more intentional than three unrelated shrubs placed side by side.
Step 5: Bring in Flowers and Ornamental Grasses
Once the permanent structure is established, introduce perennials, flowering plants, and ornamental grasses. These create the changing personality of the garden. Use them for:
- Seasonal color
- Pollinator interest
- Movement
- Fragrance
- Foliage contrast
- Softening hard edges
Plant them in groups rather than as isolated specimens. Instead of creating a sequence such as:
Salvia → Coneflower → Grass → Daylily → Daisy
create repeated masses:
3 Salvias → 5 Coneflowers → 3 Grasses
Then repeat one or two of those plants elsewhere. Repetition makes the landscape easier for the eye to understand.
Step 6: Finish With Groundcovers and Low Plants
Groundcovers create the final transition between planting beds and surrounding surfaces. They work particularly well beside:
- Paths
- Patios
- Lawn edges
- Retaining walls
- Stepping stones
- Shrub borders
They can also help reduce exposed soil and visually connect larger plants. Keep lower-growing plants toward the front where they remain visible. For more ideas about combining planting with patios and paths, see The Best Way to Combine Hardscape and Plants in One Design.
Use a Simple Planting Formula
Layered planting does not require dozens of varieties. For a medium-sized planting area, you might begin with:
- One structural tree or ornamental tree
- Two repeating shrub varieties
- Two or three perennial varieties
- One ornamental grass
- One groundcover
The exact number of plants depends on the space. What matters is the order:
Structure first → middle layer second → color and texture third → low planting last.
This prevents the garden from becoming a random collection of individual plants.
Create Depth Instead of Straight Rows
- One of the easiest ways to make planting look more natural is to avoid placing every plant along the same line.
- Unless you are intentionally creating a formal hedge, slightly stagger plants.
- Shrubs can sit behind and between one another. Flowers can move slightly forward and backward through the bed.
- This creates visual depth without requiring more plants.
- However, avoid confusing natural-looking planting with randomness.
- A good planting design still uses repetition, recognizable groups, and clear spacing.
Repeat Plants Throughout the Yard
Repetition is one of the simplest landscape-design principles to apply. Imagine using:
- One evergreen shrub variety
- One flowering shrub
- Two flowering perennial varieties
- One ornamental grass
- One groundcover
Those same plants can appear in several parts of the landscape. Repetition makes separate beds feel connected. Using 25 different plants simply because you have room for 25 plants usually produces the opposite result. The landscape can start looking like a garden-center display.
Layer Texture, Not Just Height
A garden with different heights can still look flat if every plant has the same shape and leaf texture. Add contrast. Combine:
- Broad foliage with fine leaves
- Rounded shrubs with upright grasses
- Dense evergreens with loose flowers
- Dark foliage with lighter greens
- Strong architectural plants with softer forms
Texture becomes especially important during periods when fewer plants are flowering.
Design for Every Season
Avoid building an entire landscape around summer flowers. Think about what remains visible throughout the year.
Spring
Use flowering shrubs, bulbs, fresh foliage, and early perennials.
Summer
Bring in flowering perennials, ornamental trees, grasses, and lush foliage.
Fall
Look for changing leaf color, berries, seed heads, and late-season flowers.
Winter
Evergreens, branch structure, ornamental bark, dried grasses, and seed heads can keep the landscape visually interesting. A strong layered garden does not have everything blooming at once. Different plants take turns providing interest.
Give Plants Room to Reach Mature Size
New landscapes can initially look slightly empty. That is usually better than planting everything too close together. Always check a plant's expected mature width. If a shrub eventually becomes six feet wide, planting several two feet apart may create an overcrowding problem within a few seasons. Correct spacing improves:
- Air circulation
- Plant health
- Natural shape
- Visibility
- Maintenance access
Before purchasing plants, use 10 Things to Check Before Buying Plants for Your Yard to evaluate mature size, sunlight, water requirements, and other important factors.
Use Layering to Solve Real Landscape Problems
Layering is not only about making flower beds prettier.
For Privacy
Instead of relying entirely on one tall hedge, combine trees, shrubs, and grasses at different heights.
This produces a softer and more natural screen.
Around a Patio
A small tree can create overhead structure, shrubs can provide enclosure, and ornamental grasses or flowers can soften the edges.
Along a Fence
Use occasional taller shrubs or ornamental trees to break up the fence line. Bring progressively lower planting forward.
Along Walkways
Keep plants lower beside the path and gradually increase height farther back so vegetation does not interfere with movement. You can also use How to Use iScape to Plan Privacy, Pathways, and Plant Placement to compare different layouts before planting.
Common Layered Planting Mistakes That Can Ruin the Design
A layered garden can contain excellent plants and still look wrong if the overall arrangement is poorly planned. These are some of the most common problems.
1. Buying Plants Individually Instead of Designing Groups
Choosing one plant at a time often results in too many unrelated varieties. Start with a limited plant palette and repeat it.
2. Designing Around Nursery Size
Plants rarely stay the size they are when purchased. Check mature height and width before deciding where anything goes.
3. Creating Abrupt Changes in Height
A huge tree immediately surrounded by tiny flowers can create a visual gap. Use shrubs or smaller trees to make the transition smoother.
4. Making Every Plant Compete for Attention
Not every plant needs dramatic flowers, unusual foliage, or a bold shape. Allow a few plants to become focal points while others support the overall design.
5. Planting Everything in a Straight Line
Perfect rows can flatten the landscape visually. Stagger groups slightly to create depth.
6. Using Too Many Colors
A garden full of unrelated flower colors can quickly become visually busy. Choose a smaller color palette and repeat it throughout the yard.
7. Ignoring Winter
If the entire landscape depends on flowering perennials, it may look almost empty during dormant months. Include shrubs, grasses, evergreens, bark, and structural plants.
8. Overcrowding for an Instant Finished Look
Trying to make a new landscape look mature immediately often creates future maintenance problems. Leave room for plants to grow naturally.
9. Ignoring the Conditions of the Site
A perfectly layered planting plan will still fail if sun-loving plants are placed in deep shade or moisture-loving plants are placed in dry soil. Plant suitability comes before aesthetics.
Plan the Layers Before You Start Digging
The easiest way to build a cohesive layered landscape is to work from largest to smallest:
Trees → ornamental trees → shrubs → perennials and grasses → groundcovers
Then review the complete design for:
- Mature size
- Spacing
- Sunlight
- Water needs
- Seasonal interest
- Color repetition
- Texture
- Maintenance
- Pathway clearance
If you cannot complete everything at once, create the full design first and install it gradually. 10 Tips to Plan Landscaping in Phases Without Losing the Final Look explains how to phase a project while keeping the finished landscape cohesive. The strongest layered landscapes are not necessarily the ones containing the most plants. They are the ones where every layer has a purpose. Trees provide structure. Shrubs create depth. Flowers and grasses add seasonal character. Groundcovers bring everything down to the human scale.
Before buying plants, use iScape to visualize different trees, shrubs, flowers, pathways, and planting-bed arrangements directly in your outdoor space. Planning the layers first can save you from costly spacing and placement mistakes later.
FAQs About Layered Planting
What is the easiest way to layer plants?
Start with the tallest structural plants, add medium-height shrubs and perennials, and finish with low flowers or groundcovers near the front.
Should shrubs always be planted behind flowers?
Usually in beds viewed from one direction, but not always. Shrubs can also appear toward the middle or sides to create focal points and depth.
How many different plants should I use?
There is no fixed number. In most residential landscapes, repeating a smaller palette of plants creates a more cohesive appearance than using many different varieties.
Can layered planting work in a small front yard?
Yes. Use a small ornamental tree, compact shrubs, a few repeating perennials, and low groundcovers. The principle remains the same even when fewer layers are used.
How far apart should layered plants be?
Spacing should be based on each plant's mature width rather than its size at the garden center. Correct spacing prevents overcrowding and excessive pruning later.