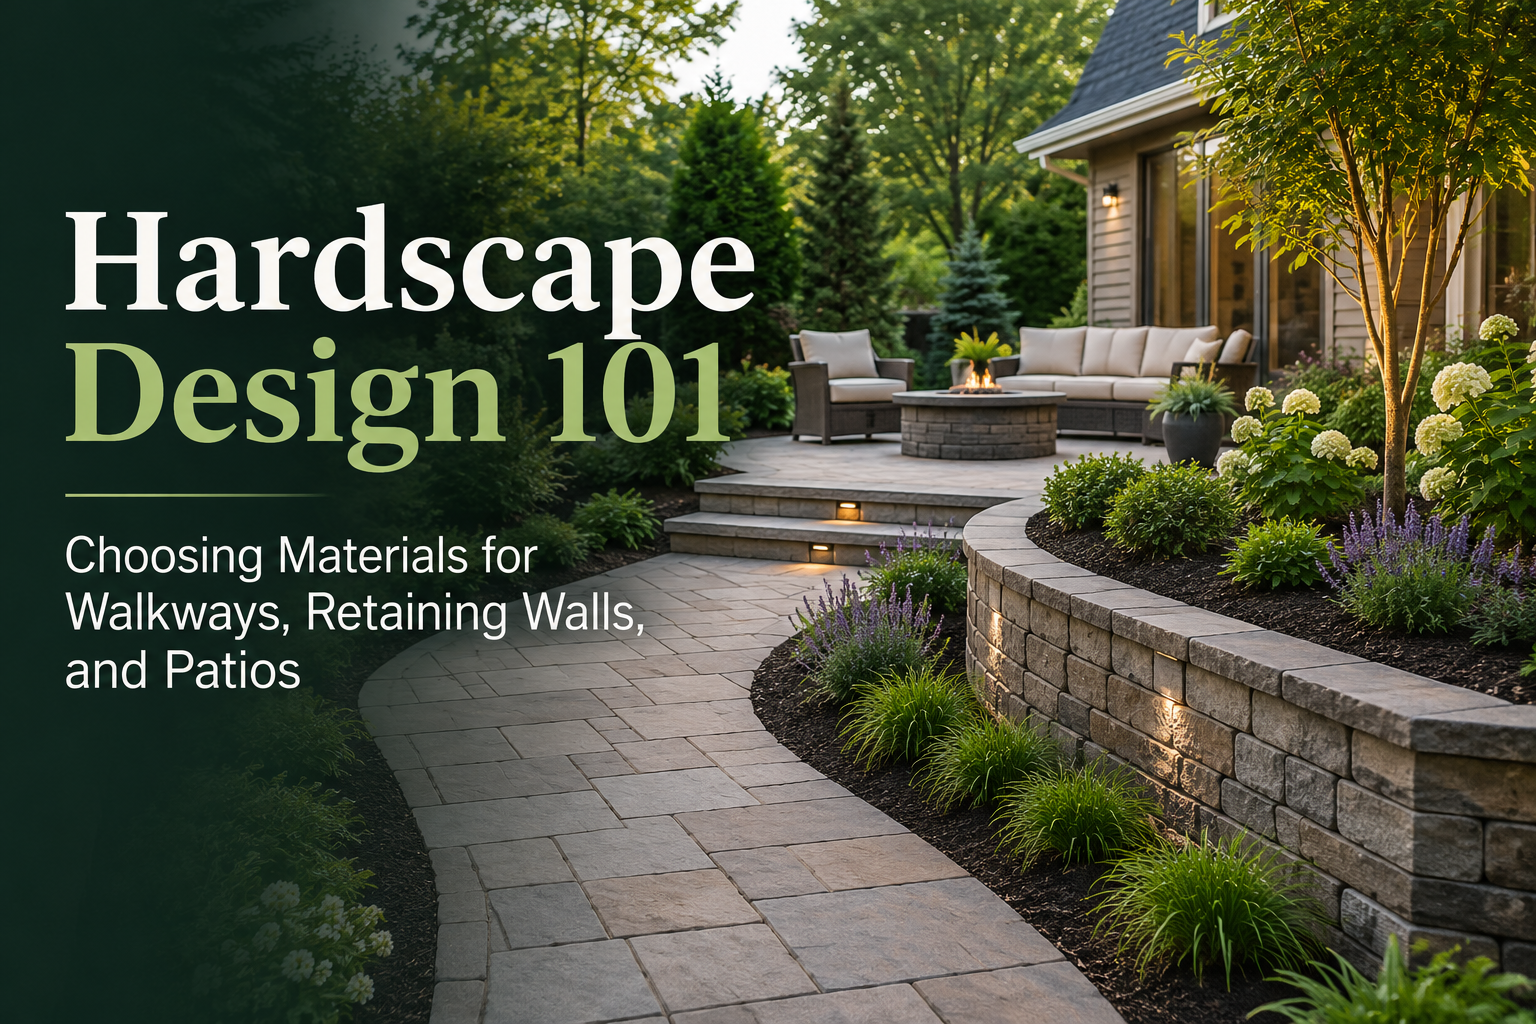
Planning a yard project can feel exciting at first, but once you start choosing plants, pathways, fences, screens, and outdoor features, it becomes harder to picture how everything will work together. A layout may look good in your mind, but the real test is how it feels in your actual space.
- Will the new hedge give enough privacy?
- Will the pathway feel natural to walk through?
- Will the plants look balanced once they mature?
- Will the design block light, views, or movement?
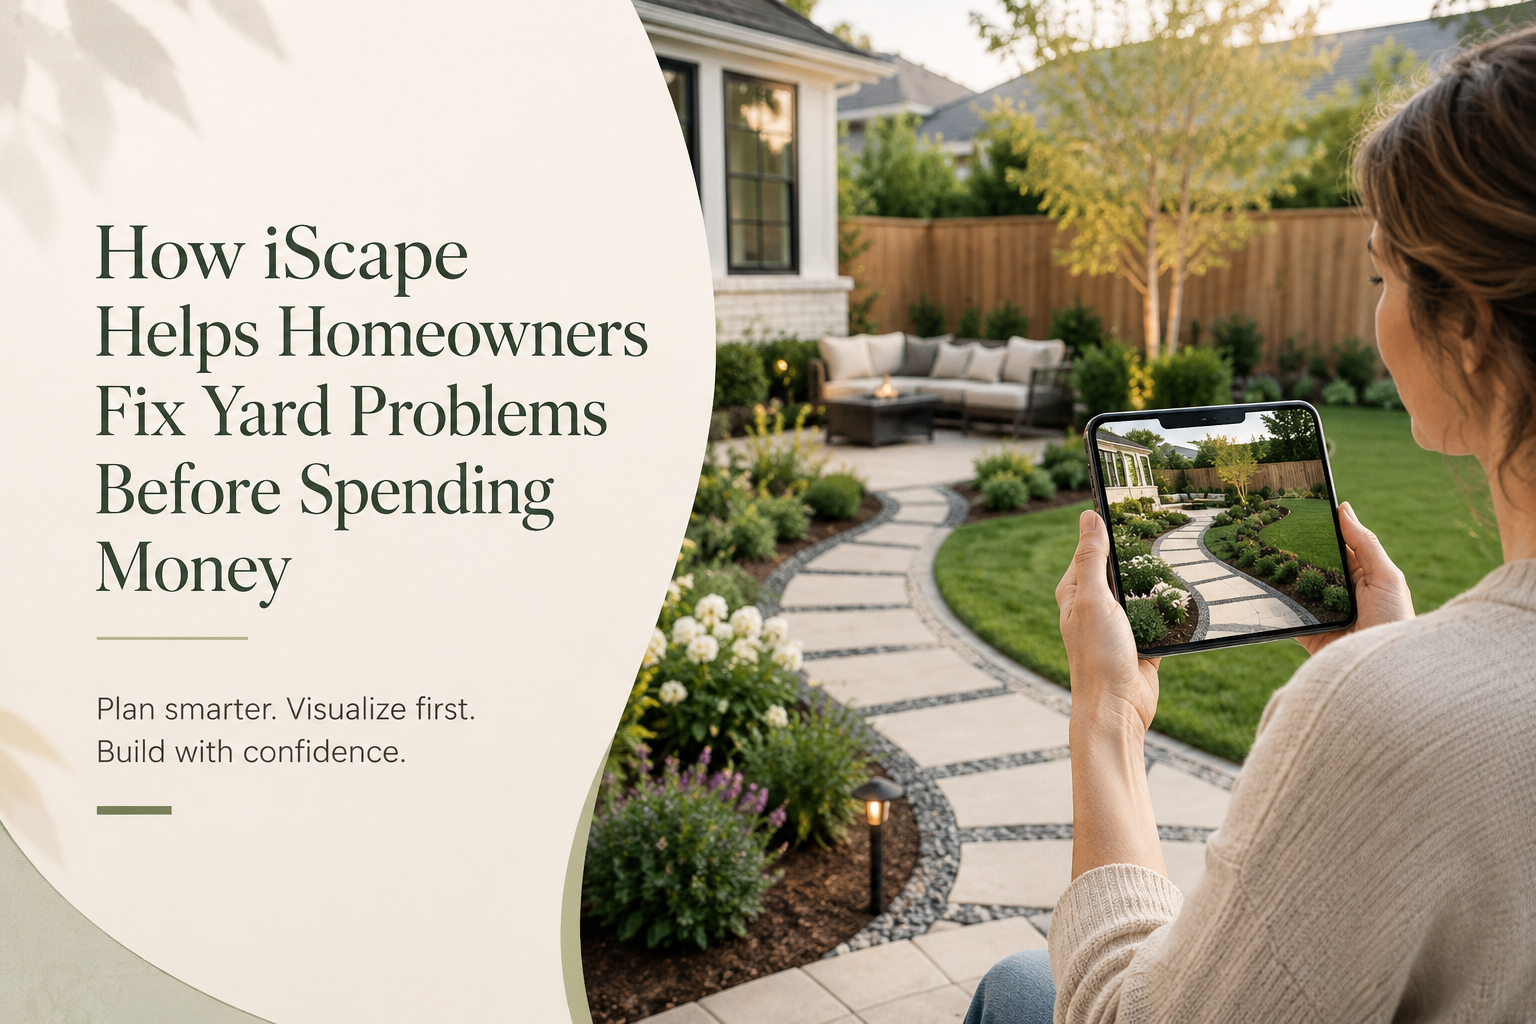
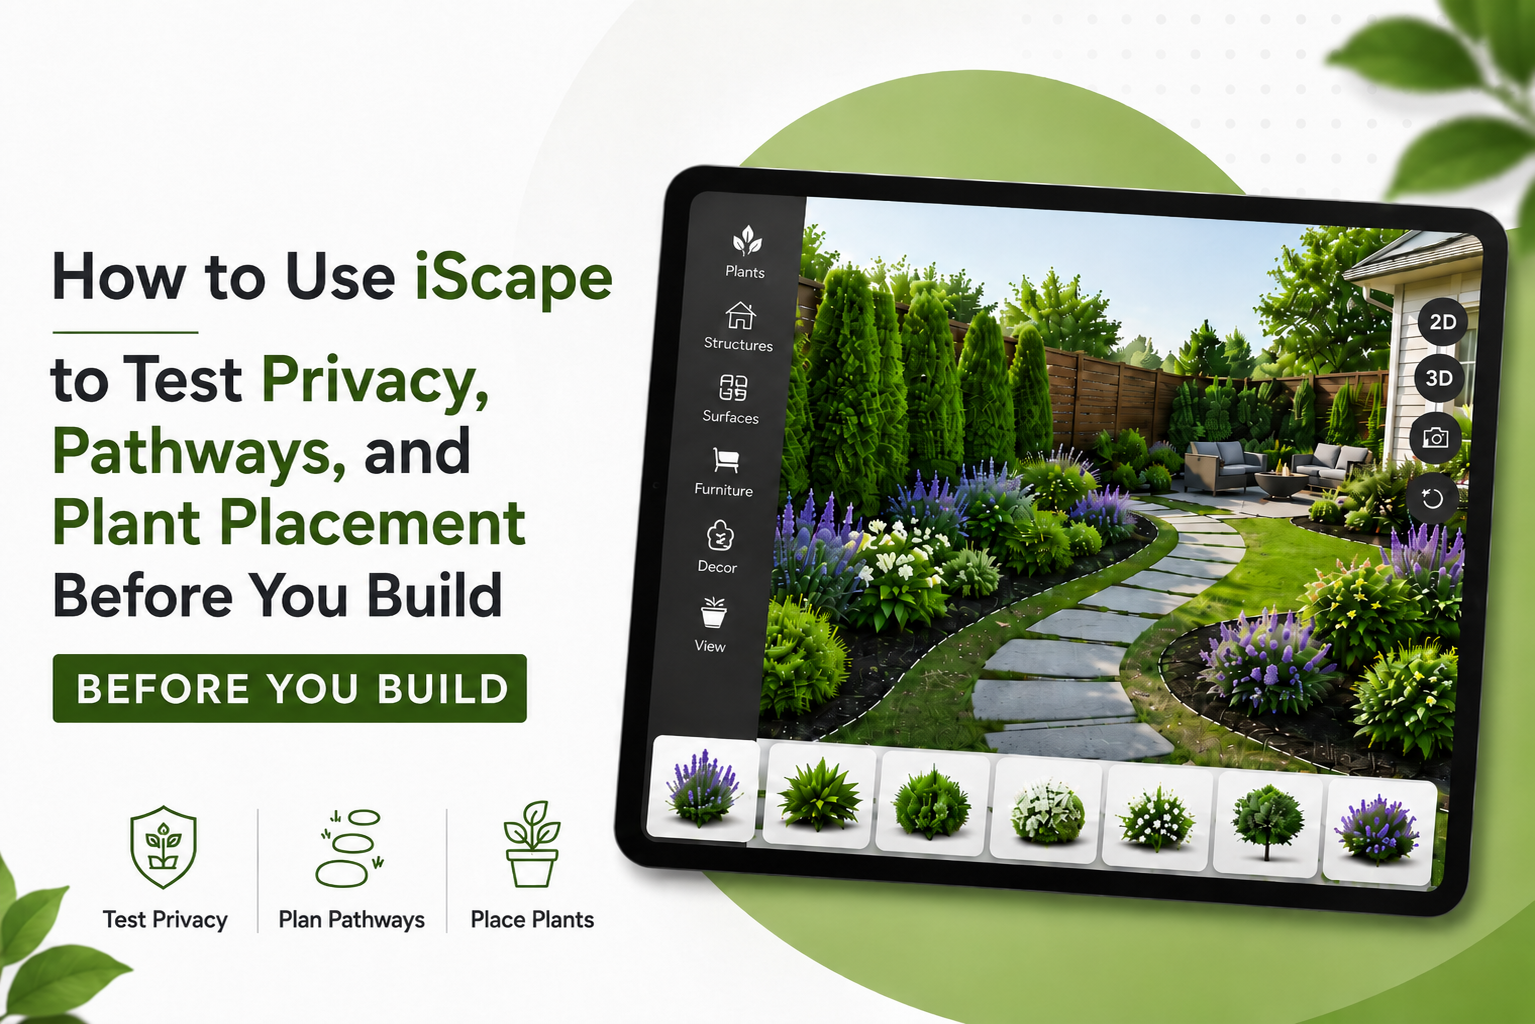
This is where iScape can help. iScape is a landscape design app that lets homeowners and professionals create outdoor designs using 2D planning and, on supported iOS devices, augmented reality and 3D visualization. It allows users to place plants, hardscape elements, furniture, fences, and other outdoor features into a real yard view before making final decisions. Instead of guessing how your yard will look, you can test different ideas visually before spending money on materials, labor, or installation.
Why Testing Your Yard Design Before Building Matters
Many outdoor design mistakes happen because people start building too early. They choose plants that grow too wide, create paths that feel awkward, or install privacy features that do not fully solve the problem. A yard design should not only look attractive. It should also work well for daily life. You need to think about movement, privacy, sunlight, plant size, maintenance, and how different areas connect. Testing your layout before building helps you:
- Avoid costly changes later
- Compare multiple design ideas
- See how plants, paths, and privacy screens fit together
- Understand the scale of each element
- Share a clearer plan with family, clients, or contractors
- Feel more confident before starting the project
iScape is useful because it helps you visualize these decisions in your own outdoor space rather than relying only on imagination or flat sketches.
Start With a Clear View of Your Yard
Before adding anything in iScape, start with a clean view of the area you want to design. This could be your front yard, backyard, side yard, patio area, garden bed, or entrance walkway. Walk around the space and look at it from different angles. Notice what already works and what feels unfinished. Pay attention to:
- Open areas that feel empty
- Areas where you need privacy
- Existing trees, fences, walls, or patios
- Sun and shade conditions
- Natural walking routes
- Views you want to keep or block
- Drainage or low spots
- Narrow spaces where plants may not fit well
You can start a design in iScape using a real photo, uploaded image, or AR-based design depending on your device and available features. iScape also allows users to add plants, hardscape materials, and outdoor elements into the layout, then adjust placements before installation.
Use iScape to Test Privacy Before You Build
Privacy is one of the most common reasons people redesign their outdoor space. Maybe a neighbor’s window faces your patio. Maybe your front yard feels too open. Maybe your backyard needs a more comfortable seating area. But privacy design is not just about adding a tall fence or planting a row of shrubs. The placement, height, thickness, and style all matter.
1. Identify Where Privacy Is Actually Needed
Before placing anything, stand in your yard and look for the exact privacy problem. Ask yourself:
- Which view do I want to block?
- Is the issue at eye level, above the fence, or near the ground?
- Do I need full privacy or just a softer screen?
- Is privacy needed all year or only during certain seasons?
- Will the privacy feature block light or airflow?
Once you know the problem area, use iScape to test different solutions in that exact spot.
2. Try Different Privacy Options
In iScape, you can test several privacy ideas without committing to one too early. For example, you can compare:
- Tall shrubs
- Layered planting beds
- Trees
- Hedges
- Fences
- Trellises
- Pergolas
- Planters
- Decorative screens
A fence may give instant privacy, but it can sometimes feel too hard or closed-in. A hedge may look softer, but it may take time to grow. A mixed planting screen can feel more natural, but it needs enough space. By testing these options visually, you can see which one fits your yard style and privacy needs best.
3. Check Privacy From Multiple Angles
One mistake many homeowners make is checking privacy from only one viewpoint. A screen may look perfect from the patio but may not block the view from a side window or walkway. Use iScape to review your privacy design from different angles. Look at it from:
- The seating area
- The back door
- The street
- The neighbor-facing side
- The garden path
- The outdoor dining area
This helps you avoid placing a privacy feature that looks good from one angle but fails from another.
4. Avoid Overblocking the Yard
Privacy should make your space feel comfortable, not boxed in. Too many tall plants, walls, or screens can make a yard feel smaller and darker. Use iScape to test balance. Try placing taller elements only where they are needed, then use lower plants or open areas elsewhere. This keeps the yard private but still open and breathable.
Use iScape to Plan Pathways That Feel Natural
Pathways are more than decorative features. They guide movement, connect spaces, and make a yard easier to use. A poorly placed path can make the layout feel confusing, while a well-planned path can make the whole yard feel more polished.
1. Map How People Already Move Through the Space
Before designing a new path, think about how people naturally walk through your yard. Common routes include:
- Driveway to front door
- Patio to lawn
- Back door to garden
- Pool to seating area
- Side gate to backyard
- Outdoor kitchen to dining space
- Garage to entry path
The best pathways usually follow natural movement. If a path is too indirect, people may ignore it and walk across the grass instead.
2. Test Straight, Curved, and Stepping-Stone Paths
With iScape, you can test different pathway styles before choosing materials. A straight path works well for formal front yards, entrances, and modern layouts. A curved path feels softer and more natural, especially in garden spaces. Stepping stones work well for casual side yards, small gardens, or areas with light foot traffic. Try each style in your design and see how it changes the feel of the yard.
3. Check Path Width and Comfort
A path may look nice visually but feel too narrow in real life. Before finalizing your design, consider how the path will be used. A front entry path should usually feel wider and more welcoming. A small garden path can be narrower. A side yard path should allow comfortable movement without plants constantly brushing against people. Use iScape to place plants, borders, and hardscape elements around the path so you can see whether the walkway feels open or cramped.
4. Connect Pathways to Key Yard Zones
A good pathway should lead somewhere useful. Avoid paths that stop randomly or do not connect with a clear destination. Your pathway can connect:
- Entryways
- Seating areas
- Garden beds
- Fire pits
- Patios
- Pools
- Sheds
- Outdoor kitchens
- Lawn areas
When you test the design in iScape, make sure each path has a purpose. This makes your yard feel more intentional and easier to use.
Use iScape to Test Plant Placement Before Planting
Plant placement is one of the most important parts of landscape design. Even beautiful plants can look wrong if they are placed in the wrong spot. Poor plant placement can lead to overcrowding, blocked walkways, uneven balance, too much maintenance, or plants that struggle because they do not match the site conditions.
1. Start With Structure Plants First
Before adding flowers and small details, place the larger plants first. These are the plants that shape the design. Structure plants include:
- Trees
- Large shrubs
- Hedges
- Tall ornamental grasses
- Foundation plants
- Privacy plants
Use iScape to test where these larger plants should go. Once the structure feels right, you can add smaller plants around them.
2. Think About Mature Size
A young plant may look small when you buy it, but many plants become much wider and taller over time. If you place them too close to paths, walls, windows, or each other, the yard may become crowded later. When testing plant placement, leave enough room for future growth. Do not only design for how the plant looks today. Design for how it will look after it settles into the space.
3. Use Layering for a More Professional Look
Professional-looking landscapes often use layers. Instead of placing plants in one flat row, they combine different heights and textures. A simple layering approach is:
- Tall plants in the back
- Medium shrubs in the middle
- Low plants or groundcover in the front
This creates depth and makes the planting bed look fuller. In iScape, you can test different plant groupings and see whether the bed looks balanced from the main viewing areas.
4. Avoid Blocking Windows, Doors, and Walkways
Plants should improve the space, not create problems. Before finalizing plant placement, check whether anything blocks:
- Windows
- House numbers
- Entry doors
- Walkways
- Driveway visibility
- Outdoor lighting
- Seating views
- Air conditioning units that need airflow
iScape helps because you can see how plants interact with the existing home and yard features before anything is planted.
5. Test Seasonal Balance
A yard should not look good for only one season. Try to include a mix of evergreen structure, flowering plants, texture plants, and seasonal color. When planning in iScape, think about how the space will look throughout the year. A privacy hedge may be useful year-round, while flowering plants may bring seasonal interest. A mix of both can make the design feel more complete.
Combine Privacy, Pathways, and Plants Together
Privacy, pathways, and plants should not be planned separately. They affect each other. For example, a privacy hedge may make a pathway feel too narrow. A curved path may create a better planting bed shape. A tree may give privacy but also shade an area where sun-loving plants were planned. Use iScape to test the full layout together. Look at the design and ask:
- Does the pathway feel easy to follow?
- Do privacy features solve the right problem?
- Are plants placed where they have room to grow?
- Does the yard feel balanced from the main view?
- Are there open areas and planted areas?
- Does the design feel natural with the home?
- Will maintenance be manageable?
This full-layout view is one of the biggest benefits of using a landscape design app. You are not just choosing individual features. You are testing how the whole outdoor space works together.
Share the Design Before Making Final Decisions
Once you create a few design options, share them with others before building. iScape allows designs to be shared with family members, clients, contractors, or landscape professionals, which can make feedback and planning easier. This is helpful because another person may notice something you missed, such as a blocked view, awkward pathway, or plant that seems too large for the space. For homeowners, sharing the design can help family members agree before money is spent. For professionals, it can help clients understand the design more clearly before approving the project.
Common Mistakes to Avoid When Testing Your Design
Even with a visual tool, it is still important to think carefully before building. Avoid these common mistakes:
- Adding too many plants without a clear plan
- Placing privacy screens everywhere instead of only where needed
- Making pathways too narrow
- Forgetting plant mature size
- Using only one type of plant
- Blocking windows or natural light
- Choosing style over function
- Ignoring maintenance needs
- Not checking the layout from different angles
- Finalizing the design without comparing options
The goal is not to create the most crowded design. The goal is to create a yard that looks good, feels comfortable, and works for daily use.
Final Thoughts
Using iScape before you build can help you make smarter landscape decisions. Instead of guessing where privacy screens, pathways, and plants should go, you can test the layout visually in your actual space. Privacy features can be placed where they are truly needed. Pathways can be adjusted until they feel natural. Plants can be arranged with better spacing, balance, and long-term growth in mind.
Whether you are refreshing a small front yard, redesigning a backyard, or preparing a full landscape plan, iScape gives you a clearer way to explore ideas before making permanent changes. It helps you see the design before the work begins, reduce costly mistakes, and move forward with more confidence.
FAQs
1. Can iScape help me plan privacy before building?
Yes. iScape lets you test privacy ideas like hedges, fences, trees, screens, and layered plants in your actual yard view before installation.
2. How can I use iScape to plan pathways?
You can place different pathway styles in your design and check whether the route feels natural, connects key areas, and leaves enough walking space.
3. Why should I test plant placement before planting?
Testing plant placement helps you avoid overcrowding, blocked walkways, poor spacing, and plants being placed in areas where they may not grow well.
4. Can iScape help reduce landscaping mistakes?
Yes. By previewing your privacy features, pathways, and plant layout first, you can spot design issues early and make changes before spending money on materials or labor.
5. Is iScape useful for both homeowners and landscape professionals?
Yes. Homeowners can use it to plan their own yard projects, while professionals can use it to present clearer design ideas to clients before starting work.